How to work with resizing forms and anchoring controls
- Details
- Written by Max Trinidad
- Last Updated: 03 September 2021
- Created: 19 September 2019
- Hits: 37256
User Rating: 4 / 5


Developing a Windows GUI application requires an understanding of the Microsoft .NET Framework, which is a broad topic that has been documented by Microsoft Corporation.
PowerShell Studio provides the necessary controls to develop a Windows application with PowerShell, but extra effort is needed to complete building the GUI application; this is where you can leverage the Microsoft Documentation on Windows Forms.
There are many challenges when creating a Windows GUI application, and it is important to have an SDLC (Software Development Life Cycle) strategy in place. Although the GUI application might work on one system, thorough testing can help prevent issues found later in other systems. Always take the time to perform testing in all of your testing environments (Sandbox, Development, and Quality Assurance) before any Production environments implementation.
It is also crucial to set some of the form properties and control anchoring so that High DPI resolution won't be an issue with the GUI application in other systems. Any Windows Development tool, such as Visual Studio, will experience the same problem with High DPI resolution when building and testing a Windows Forms application.
So, how to proceed?
Working with Windows Forms
There are a few things we can do when working with Windows Forms in PowerShell Studio.
Click on the form in the Designer, then in the Properties Panel, check two Form properties with their default values:
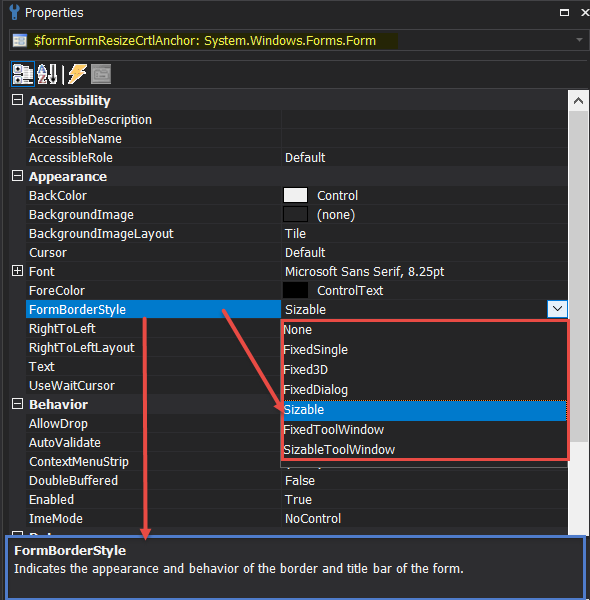
1. "Appearance | FormBorderStyle" has a default value "Sizable". This property has the following values:
- None
- FixedSingle
- Fixed3D
- FixedDialog
- FixedToolWindow
- FixedSizableWindow
- SizableToolWindow
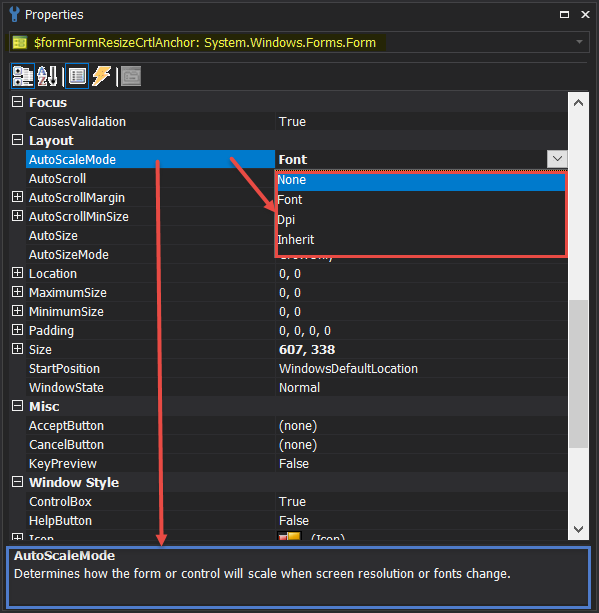
2. "Layout | AutoScaleMode" has the default value "Font". This property has the following values:
- None
- Dpi
- Inherit
Leaving the default value "as is" means that the form can be resized manually at any time.
Next is securing the controls added to the form.
Anchoring the Control
Anchoring the control is important when designing a GUI form. Usually, dragging and dropping the control onto the GUI form is enough.
By default, for all controls the "Layout | Anchor" property is set to "Top, Left".
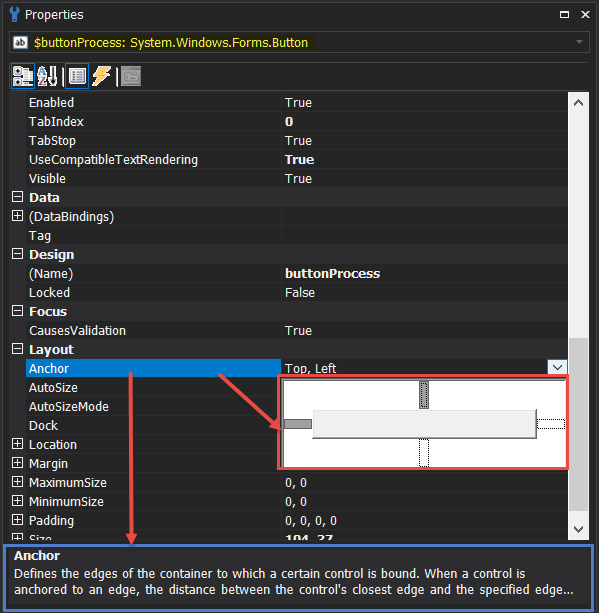
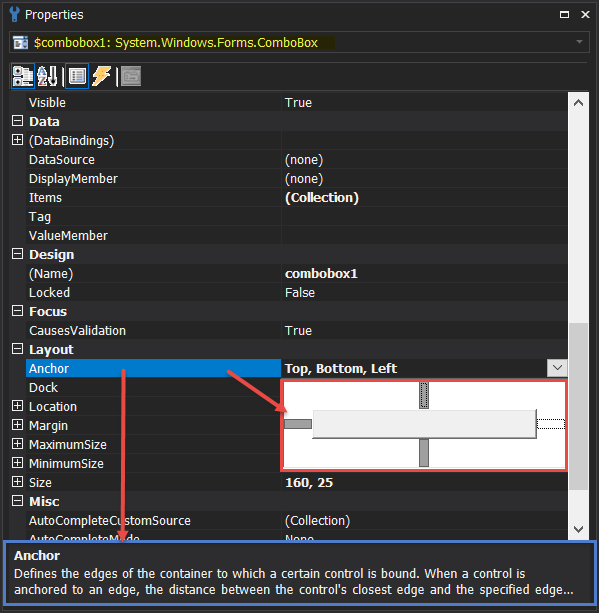
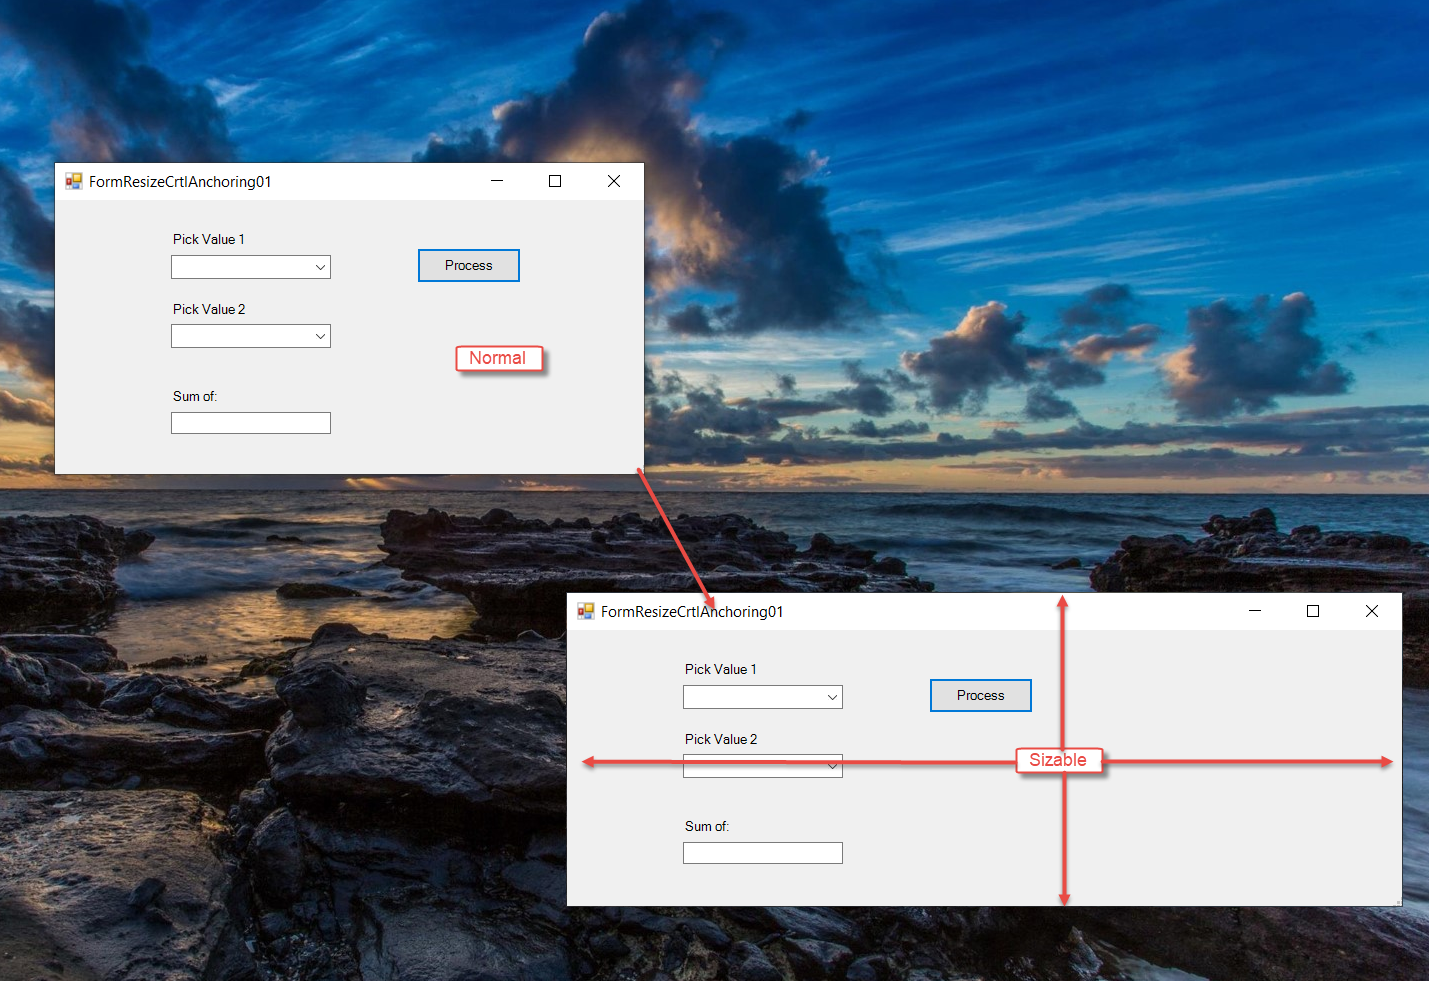
We leave it with the default values. But if the GUI form is "Sizable", the "Layout | Anchor" property for all other controls needs to change to "Top, Bottom, Left" (except for the Button Controls).
If the form is not "Sizable", then the "Layout | Anchor" property remains with the default value "Top, Left".
This way we can resize the form when testing the GUI application, and the controls will remain anchored in their position.
Getting the best results
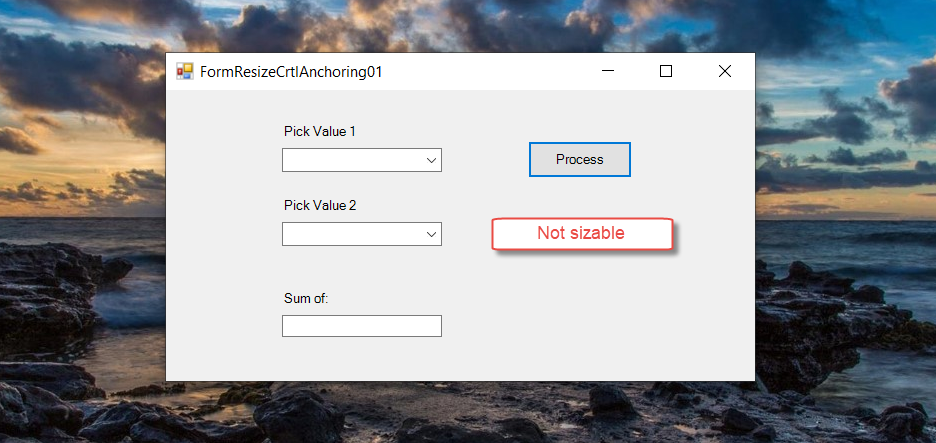
For most cases, setting the form to a fixed size would be the proper way to design the GUI form. So, in the form property "FormBorderStyle" try using one of the different Fixed* values listed.
The image below is using "FixedSingle" as the selected value and leaving the rest of the form controls' properties with their default values.
Wait! I want a Sizable Form
There may be situations where a sizable form is needed based on a given output text results.
Start with a couple of the Form properties. In the form Designer, click on the form. In the Properties panel look for:
- "Appearance | FormBorderStyle" - leave default value "Sizable".
- "Layout | AutoScaleMode" - leave default value "Font".
Then, back in the Designer, manually adjust the size of the form, add two Controls to the form, and change some of the properties:
1. Button Control - Properties:
- "Text"- Change Text "Button1" to "Get Application Event Error" value.
- "Font" - Change default font size "8.25" to "16" value.
- "Layout" - Dock change default "None" to "Top" value.
2. RichTextBox Control - Properties:
- "Font" - Size change default "8.25" to "16.2" value.
- "Behavior" - ReadOnly change default "False" to "True" value.
- "Layout" - Dock change default "None" to "Fill" value.
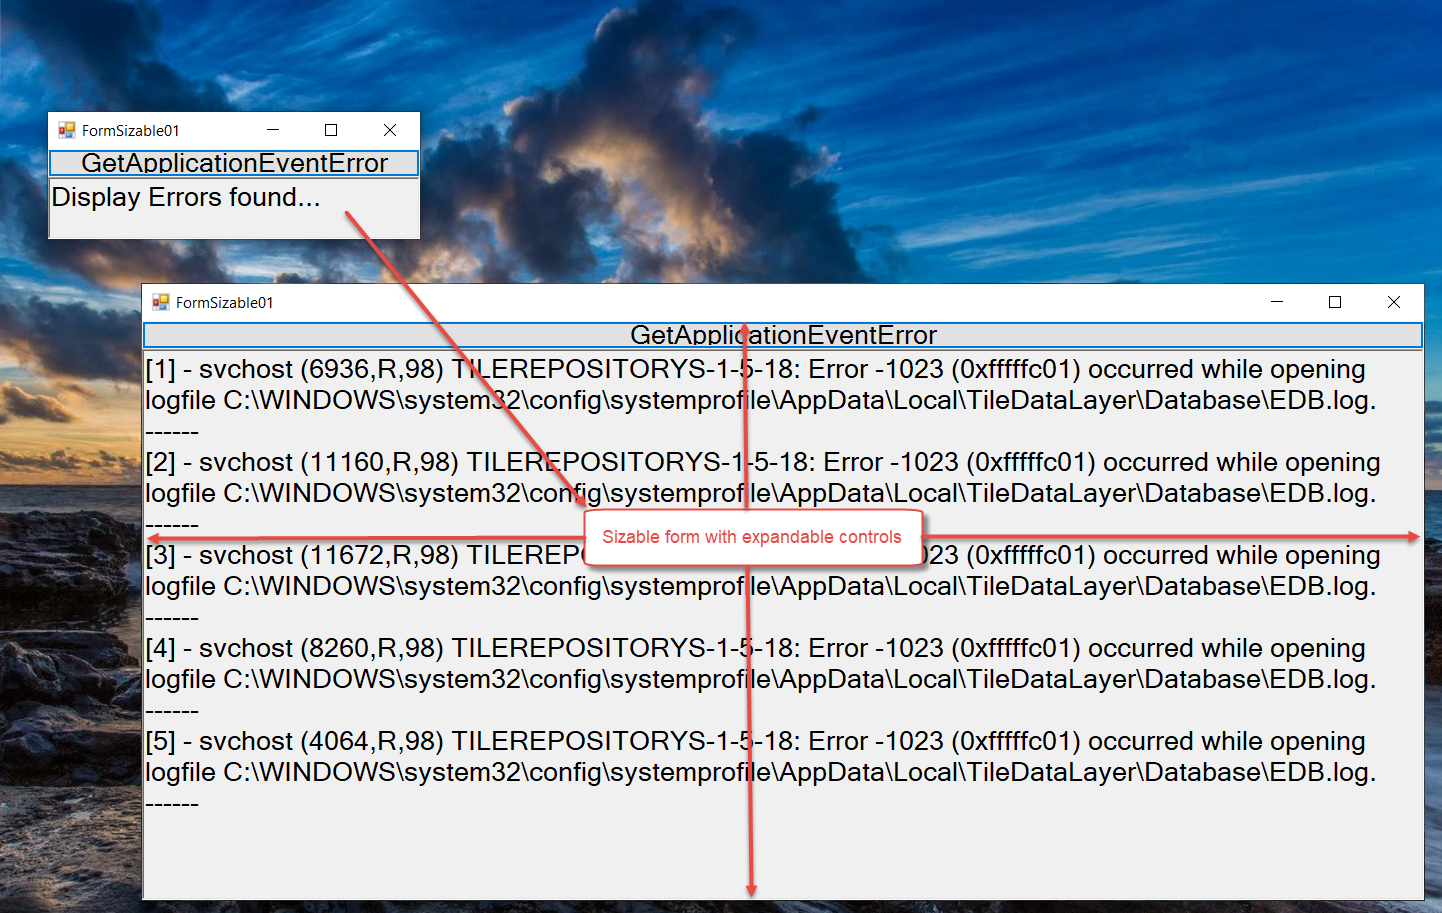
Finally, to demonstrate a sizable form with expandable controls, add the code behind in both the $formFormSizable01_Load and the $buttonGetApplicationEventE_Click ScriptBlock events to display the errors from the Windows Application event log.
DPI Snippets Available
There is snippet code available that can help design GUI applications for High DPI resolution displays. Check in the Snippet panel under "Preset | GUI | DPI" folder.
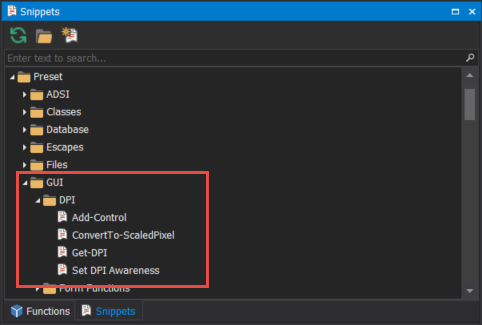
For more on how to use the snippets see Designing GUIs for High DPI Displays.
Summary
The GUI form controls already contain the necessary default values to handle High DPI Display issues. However, for a successful implementation, testing becomes crucial in systems with high DPI resolution.
Download sample script: SampleFormReSizeCtrlAnchoring.zip
Resource
- PowerShell Studio 2016 – Service Release & High DPI Support
- Designing GUIs for High DPI Displays
- Video - How to work with resizing forms and anchoring controls
For licensed customers, use the forum associated with your product in our Product Support Forums for Registered Customers.
For users of trial versions, please post in our Former and Future Customers - Questions forum.