iPowerShell Pro: How to setup and manage scripts with cloud drive services
- Details
- Written by Ferdinand Rios
- Last Updated: 20 April 2016
- Created: 04 June 2013
- Hits: 11693
iPowerShell Pro enables script editing and updating scripts on the server. We have a Script Management service that helps you edit, copy, move and delete scripts and folders that are on your servers through connected cloud services. Follow the steps below to connect to your cloud services and manage your scripts.
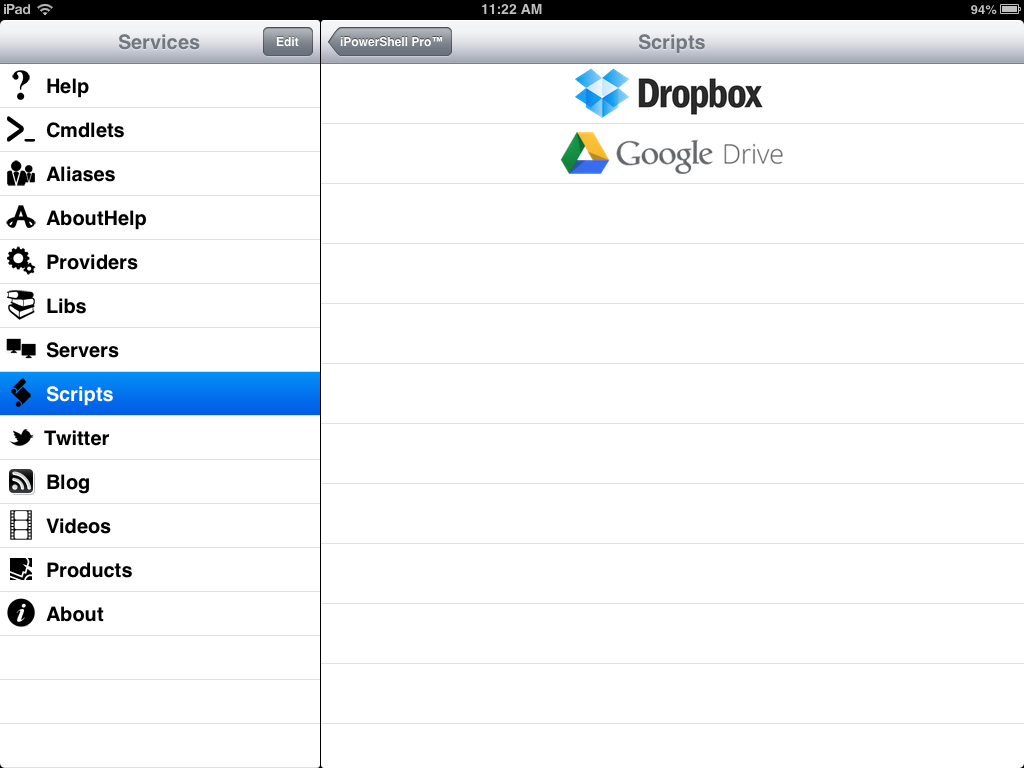
First select the Cloud Service where your scripts are stored on.
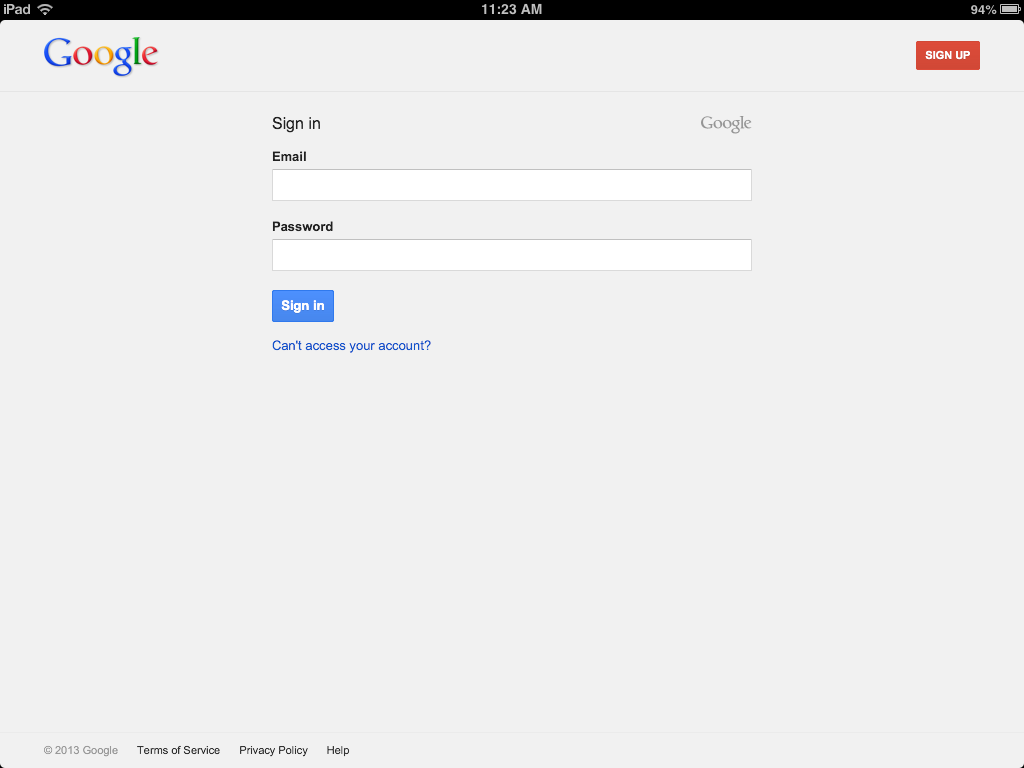
If you have never logged onto that specific cloud service from this device before, you will be prompted with a service specific login dialog. Complete that dialog to login and grant iPowerShell Pro access to the cloud service. Below is an example of the Google Drive Login Screen.
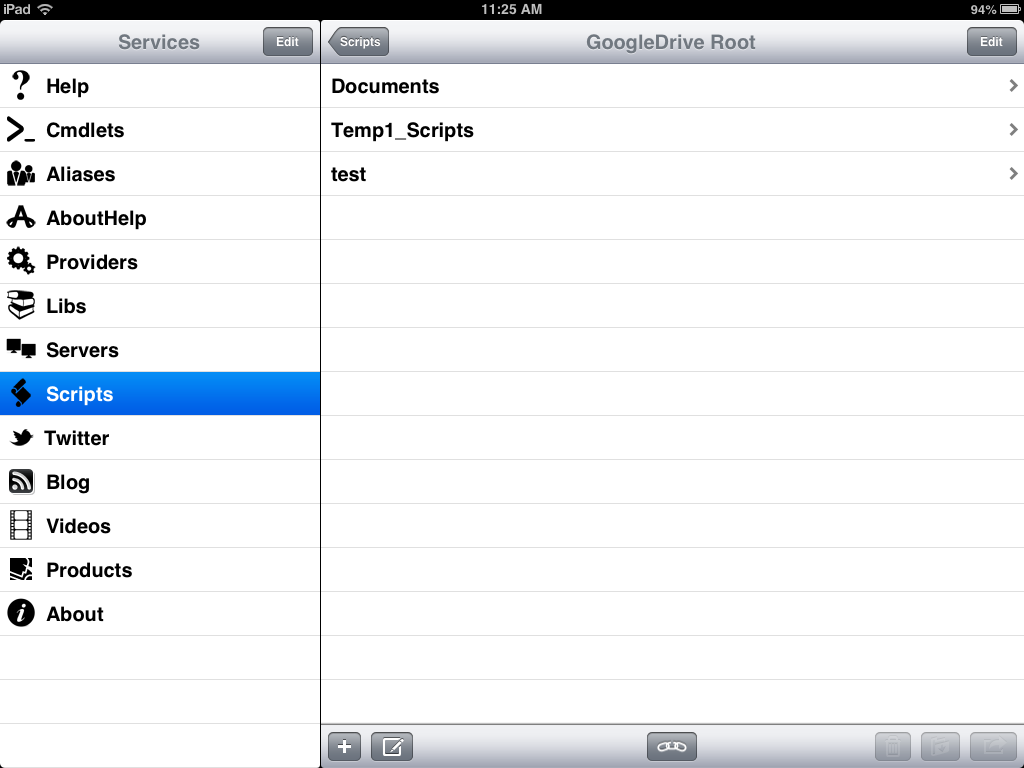
Once you are logged in you can select the folder that contains your scripts for a specific server.
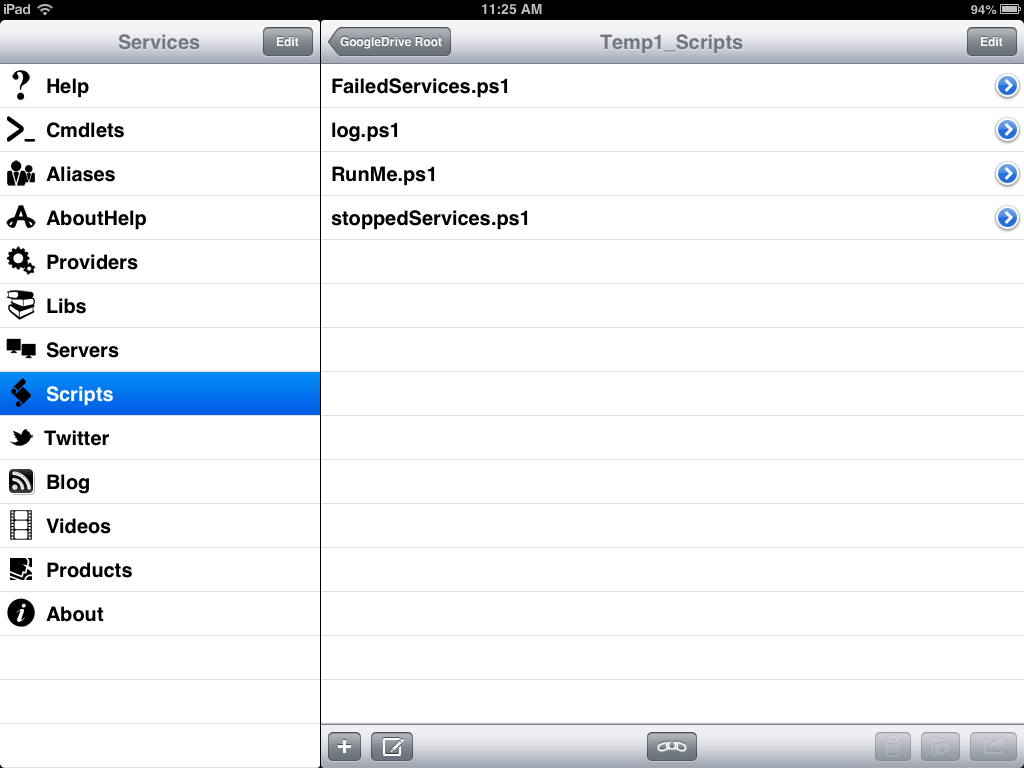
This will drill down to a list of files in that folder. In this view, iPowerShell Pro displays ALL files (not just script files) that are located within a folder.
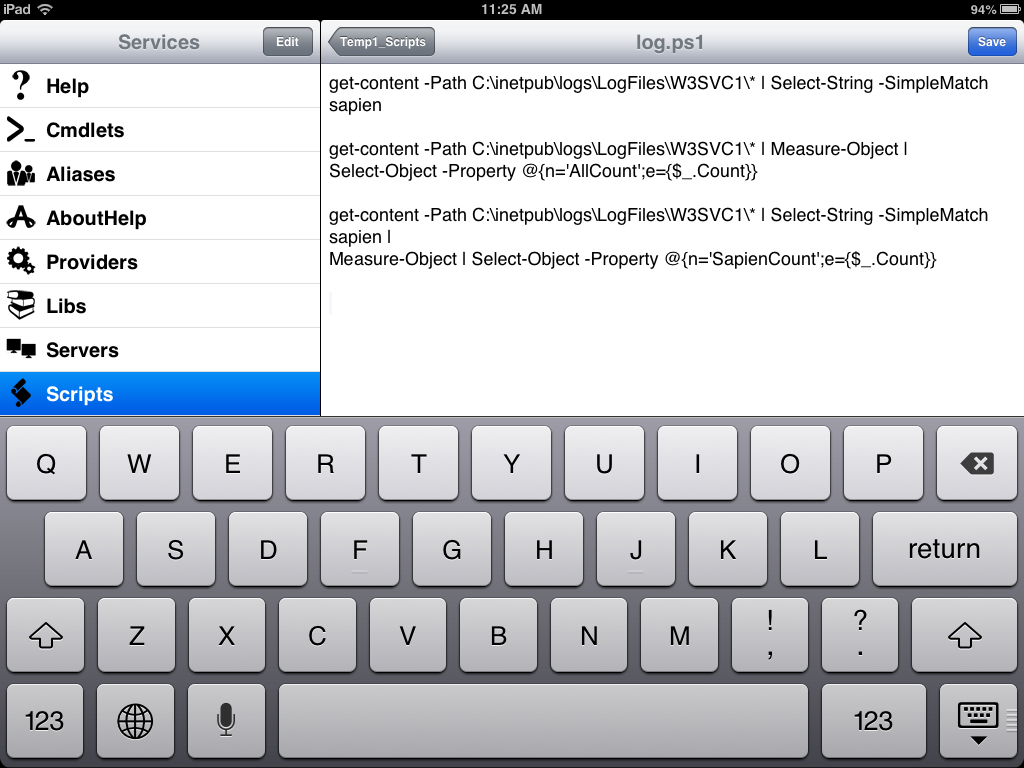
You can tap on the right side chevron to edit the script contents.
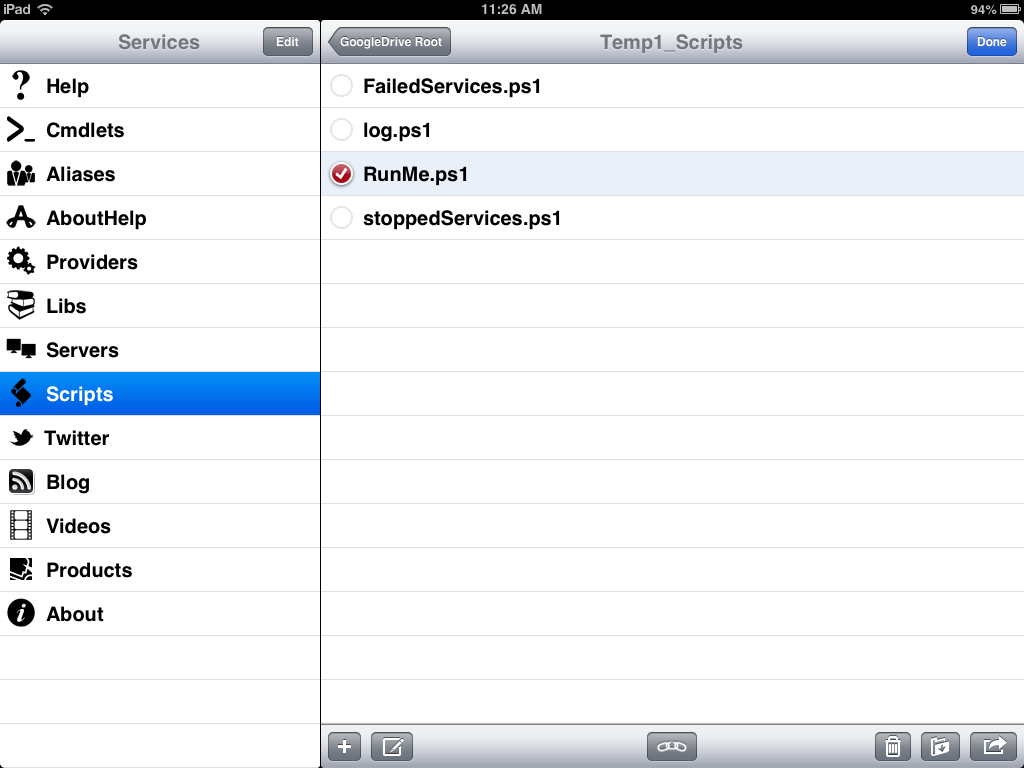
OR you can press the Edit button in the upper right corner to Copy, Delete, or Move the script or folder or Add folders. In Edit mode, several buttons are displayed on the bottom tool bar.
From left to right:
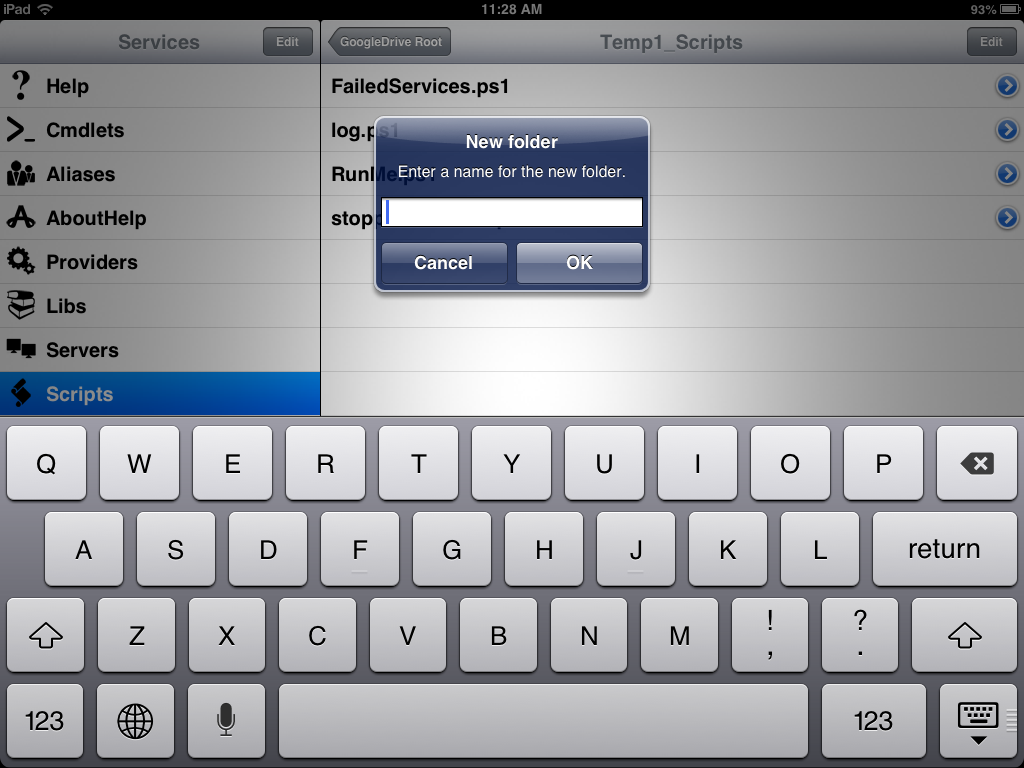
The + button pops up an input screen to create a new Folder in the current location.
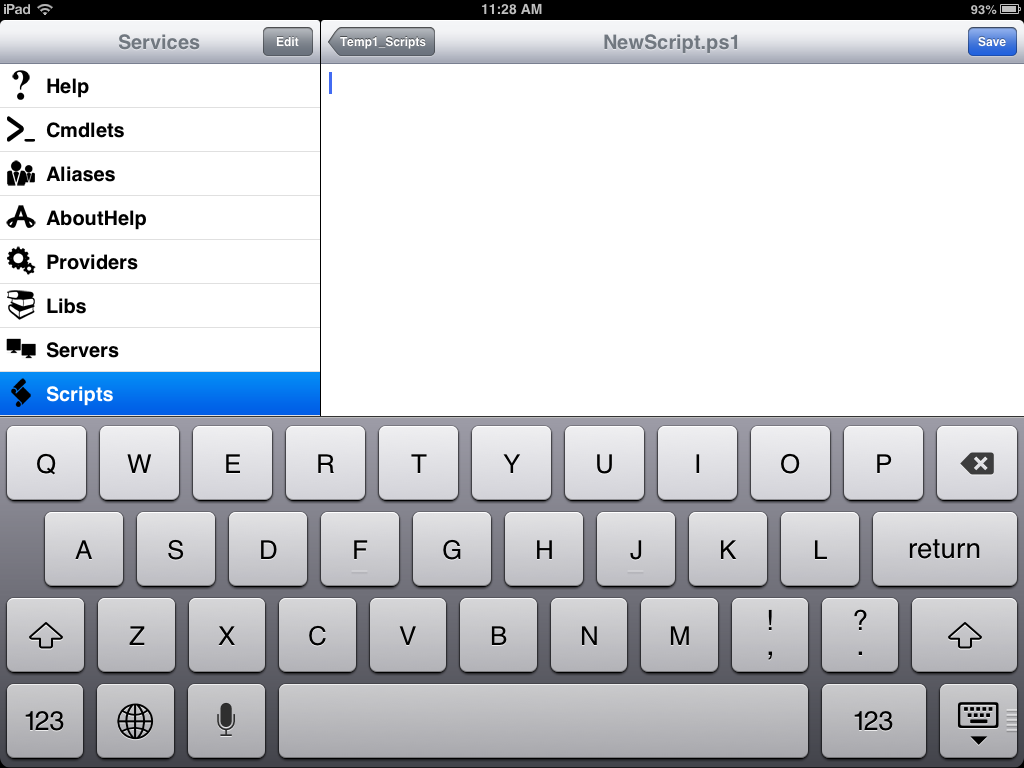
The Create button slides in a blank edit screen where you can create a new script in the current location. You can ONLY create .ps1 files with iPowerShell Pro.
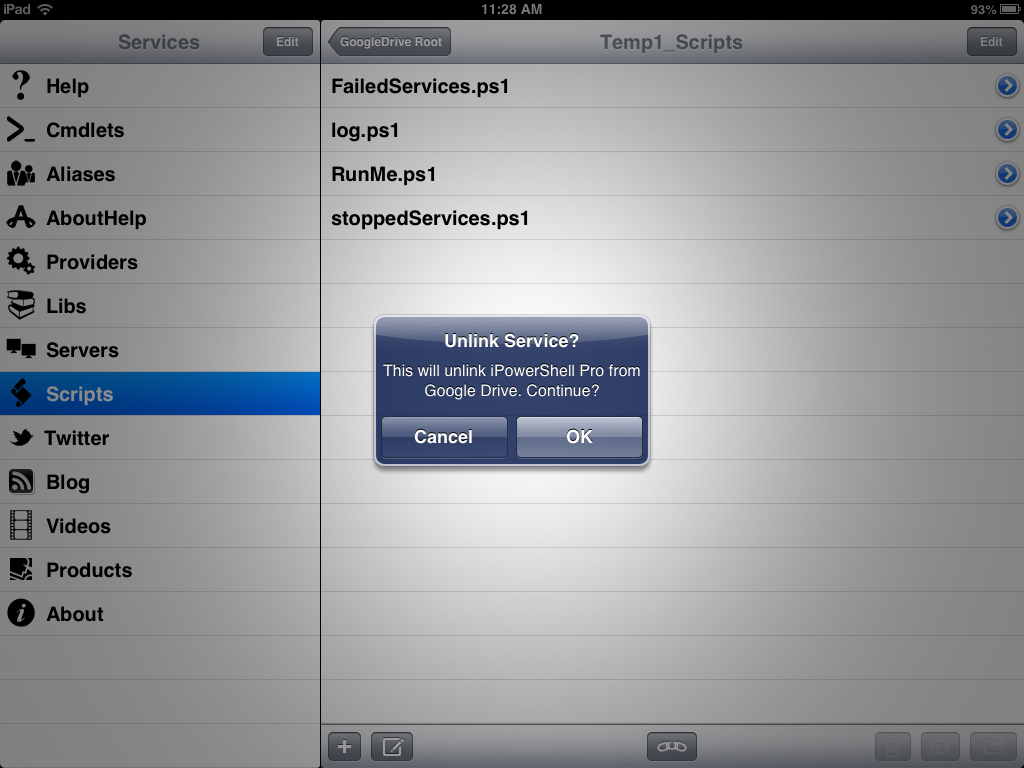
The Link button allows you to disconnect iPowerShell Pro from the cloud service. If you press this and then press OK, you will be required to reconnect to the cloud service the next time you select it.
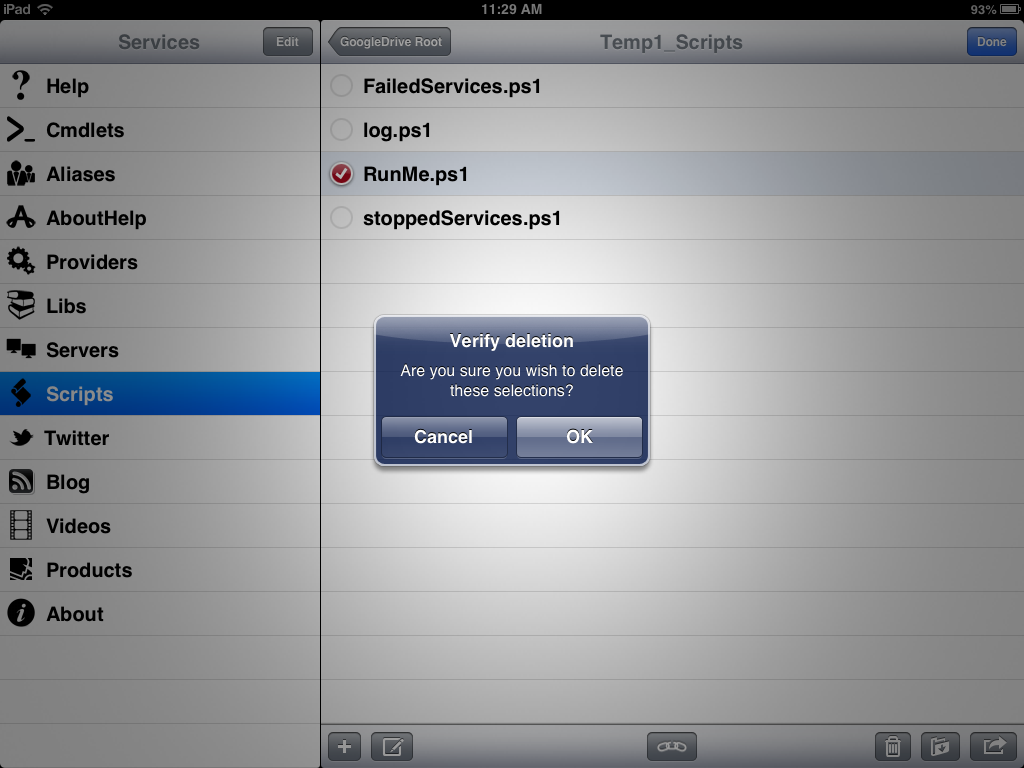
The three buttons on the right are enabled if at least one script or folder is selected in the list. The Garbage Can button deletes the selected folders (and their contents) or the selected scripts.
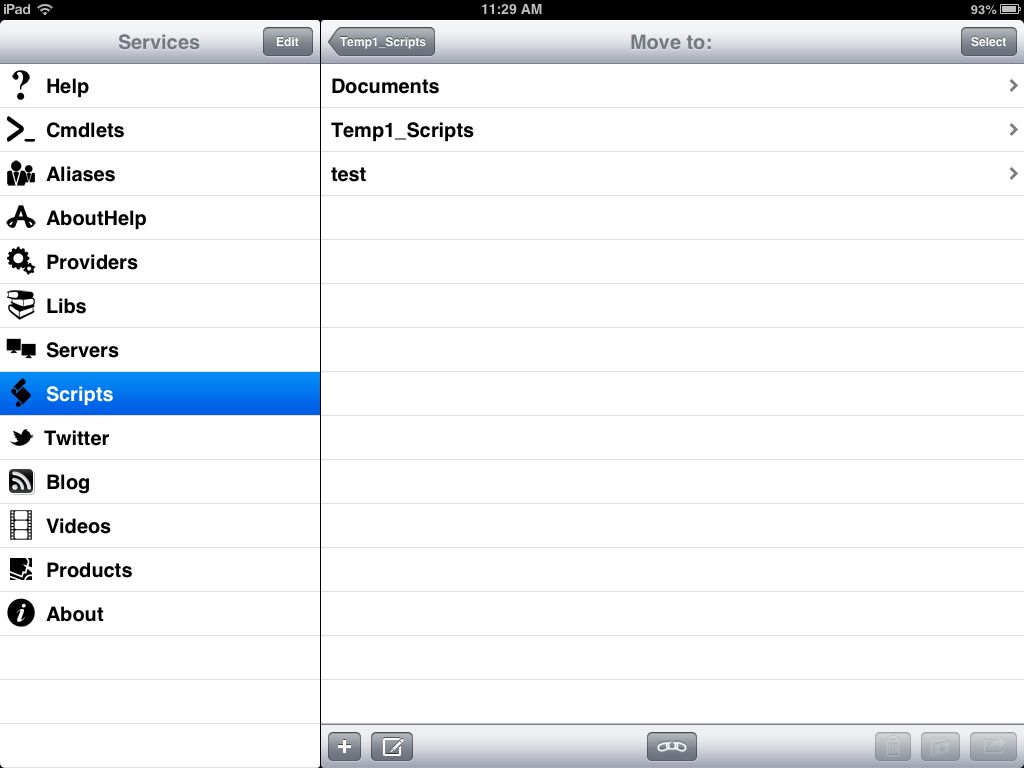
The Move button slides in a folder listing of the selected cloud service at the root level. Drill down to the desired Move To location and press the Select button in the upper right to move the selected items to the new location.
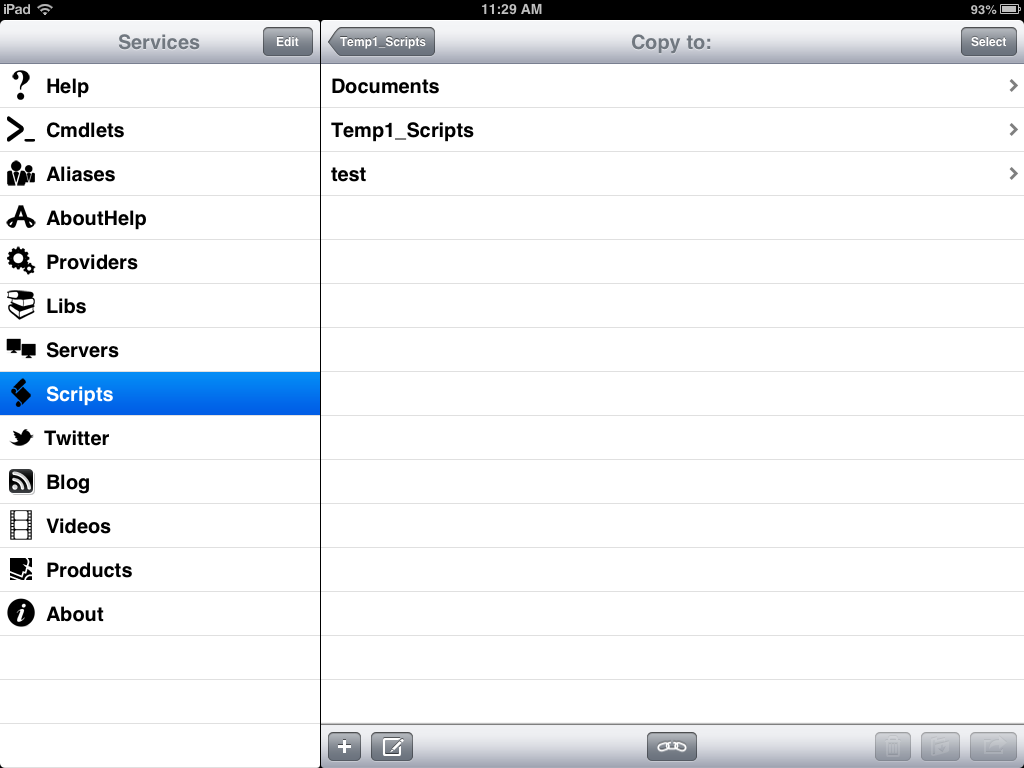
The Copy button works just like the Move button but simply copies the selected items to the new location.
For licensed customers, use the forum associated with your product in our Product Support Forums for Registered Customers.
For users of trial versions, please post in our Former and Future Customers - Questions forum.


