iPowerShell Pro: How to select, edit and execute shared scripts on your server
- Details
- Written by Ferdinand Rios
- Last Updated: 20 April 2016
- Created: 07 June 2013
- Hits: 11630
To start off, you need to make sure that your server has access to the same cloud based folder that you are connected to on iPowerShell Pro. Make sure that the cloud service that you are using is installed on your server, i.e. if you are using Dropbox, install the dropbox client on your server. You can “share” the scripts folder in several ways.
1) Create a folder under your cloud service folder on your server or your user account for your scripts. e.g. c:\dropbox\scripts. Place your scripts into that folder. Both the server and the user log into the same cloud service account (no “sharing” is needed using this configuration as you are both connected to the same account).
2) Create a folder under your cloud service folder on your server for your scripts. e.g. c:\dropbox\scripts. Place your scripts into that folder. Share that folder with the user’s account. The user connects and accepts the share as a folder off the root of their cloud service folder. e.g. c:\users\<user_name>\dropbox\scripts. Make sure that the shared folder on the user’s account has the same name as the folder on the server.
3) Create a folder under your cloud service folder on your user account for your scripts. e.g. c:\users\<user_name>\dropbox\scripts. Place your scripts into that folder. Share that folder with the server’s account. The server connects and accepts the share as a folder off the root of their cloud service folder. e.g. c:\dropbox\scripts. Make sure that the shared folder on the server’s account has the same name as the folder on the user’s account.
Whichever the case, both the server and the user MUST be connected to the SAME folders on the cloud service. Make sure that the path to the scripts on the server is the path entered into the Script Path field on the Server Setup screen as described in a previous blog post.
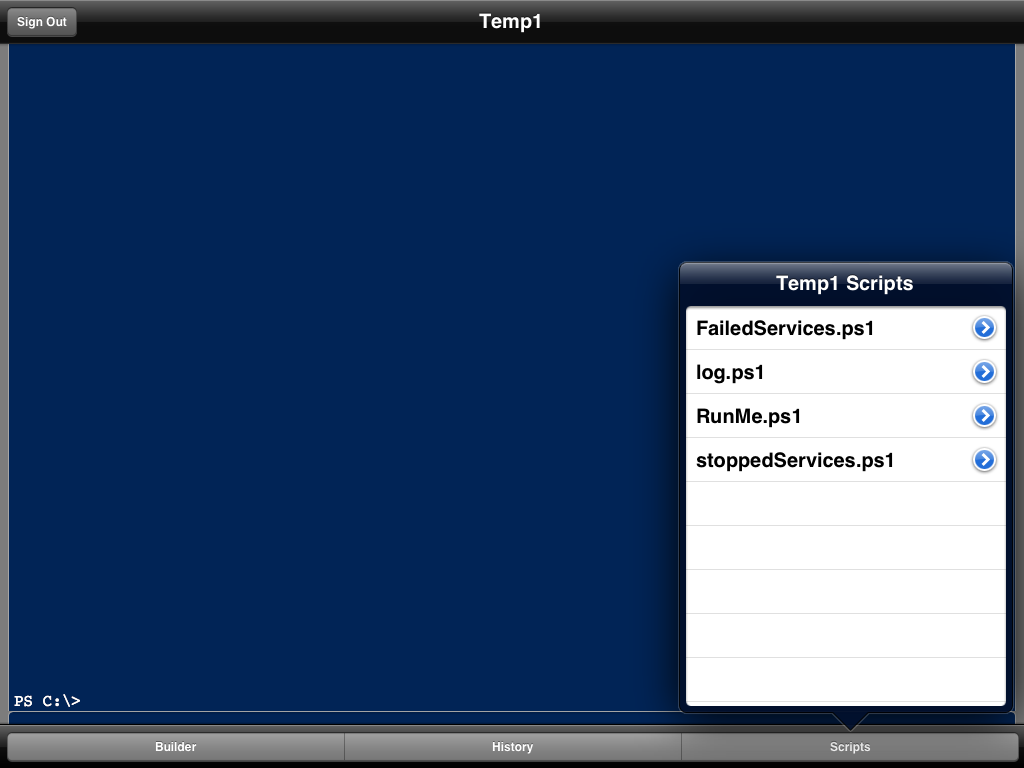
When you have the shared folders set up, connect to your server using iPowerShell Pro and when the connection is completed, DOUBLE TAP the console screen to bring up the button bar. If you have not connected to the selected cloud service before on this device, tapping the Scripts button will display the services logon dialog. When you have successfully logged in, the scripts and folders contained in the path listed in the Script Path field will be displayed. iPowerShell filters out any file that does not have a .ps1 extension, so ONLY PowerShell script files and folders are displayed.

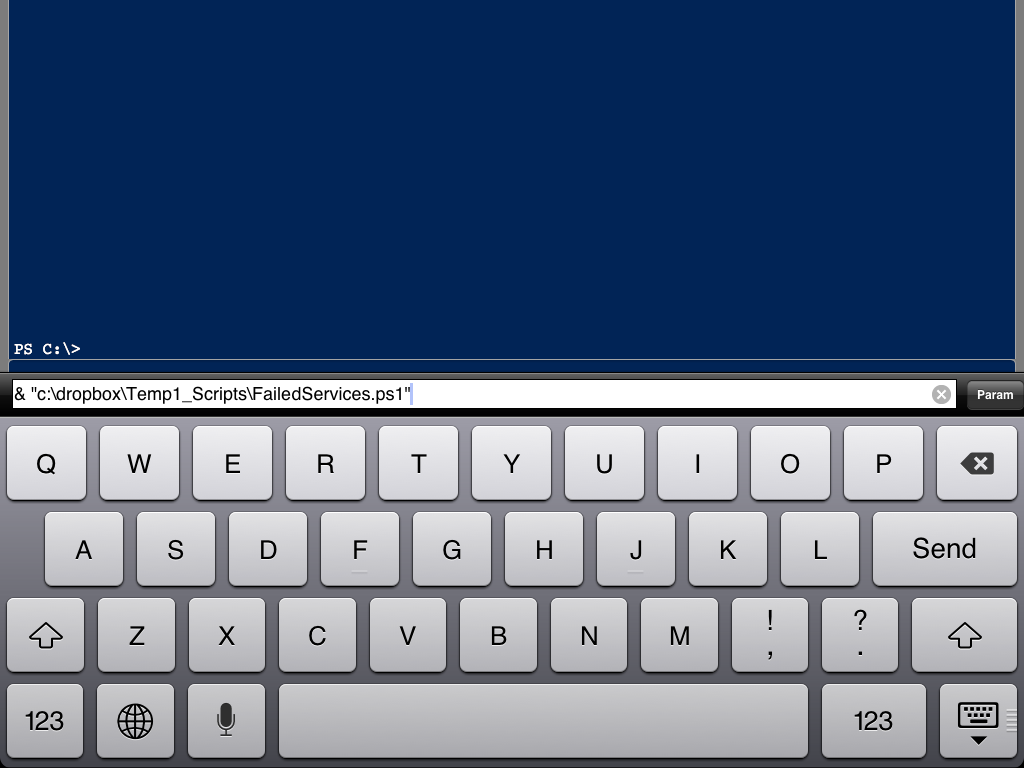
Tapping a folder name (identified by the grey sideways chevron on the right of the text indicates its a folder) will drill down to the contents of the folder. Tapping a script file (identified by the blue and white sideways chevron to the right of the text) will insert a call to the script file into the input line. Tap the input line and the script can be executed by pressing the Send key on the keyboard.

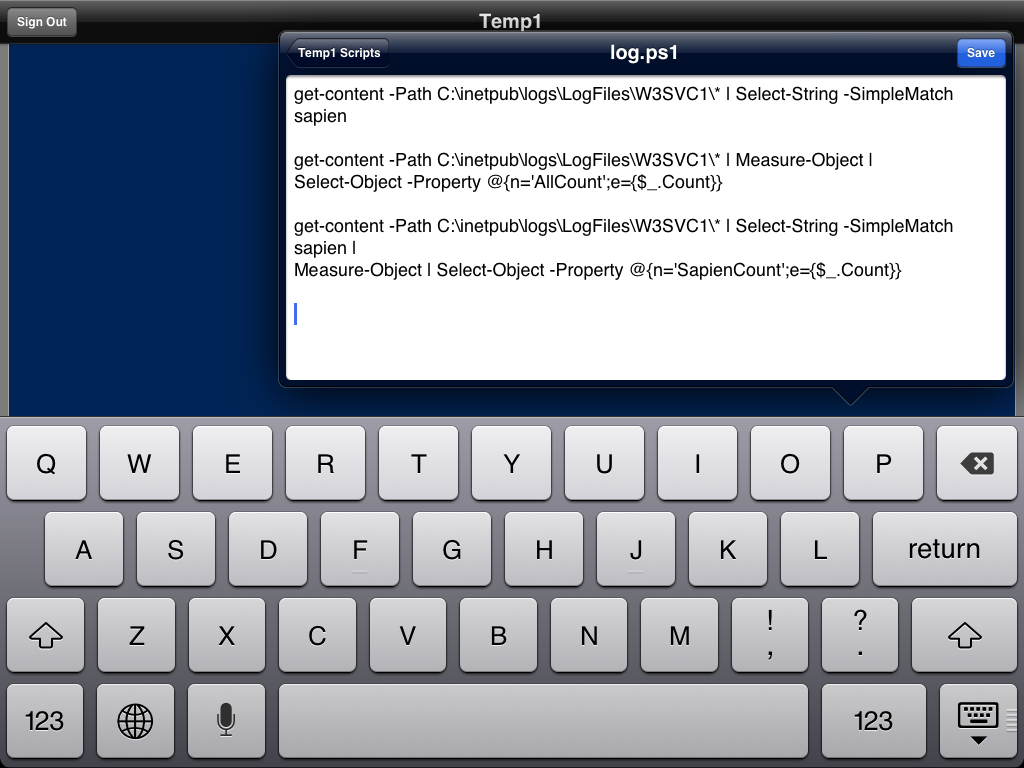
Tapping on the actual blue and white chevron, slides in a simple editor which allows you to view and edit the contents of the script. Changing the contents of the script and pressing the Save button in the upper right saves the revised script to the cloud folder.

Within a few seconds the edited file will be synchronized with your server folder and you will be able to execute the edited script on the server.
If you look carefully at the input line when you select a script, you will see the inclusion of the “&” at the beginning of the line. The & is the PowerShell Call operator. We use it here as a shortcut to call the script.
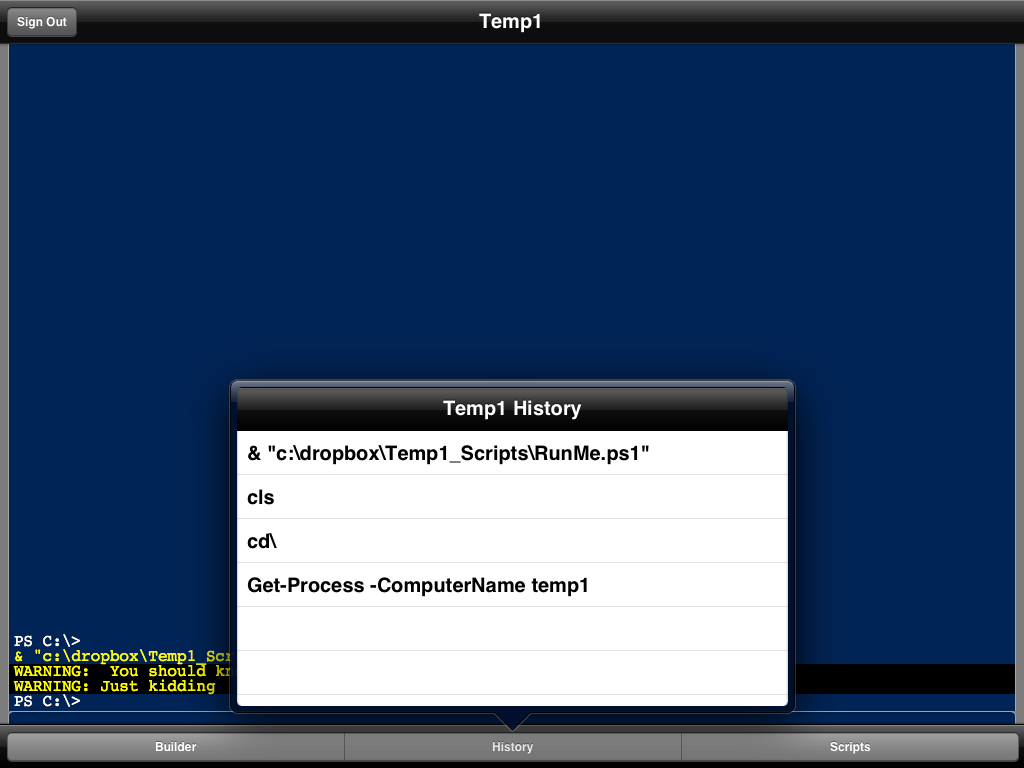
And just like selecting a cmdlet from the Builder, any item that gets selected from the Script button and sent to the console will be added to the History queue.

For licensed customers, use the forum associated with your product in our Product Support Forums for Registered Customers.
For users of trial versions, please post in our Former and Future Customers - Questions forum.


