iPowerShell Pro: How to connect to your PSWA server
- Details
- Written by Ferdinand Rios
- Last Updated: 20 April 2016
- Created: 05 June 2013
- Hits: 14047
User Rating: 1 / 5


Using the PowerShell Web Access (PSWA) feature, an admin can create a web based access point through which they can use PowerShell to manage their servers. We won’t go into the details of how this works, but rather, let us tell you about how iPowerShell Pro enhances this feature for use on your mobile devices.
As you can see from the screen shot below, iPowerShell has many Services in its services list, but we are going to focus on Servers.
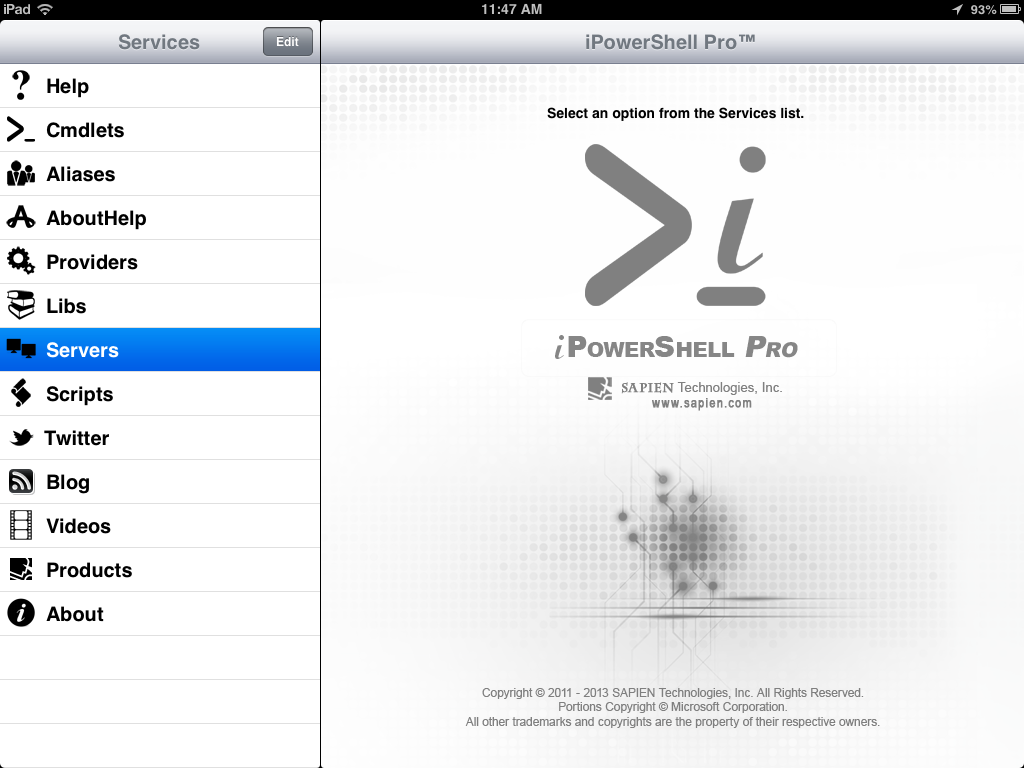
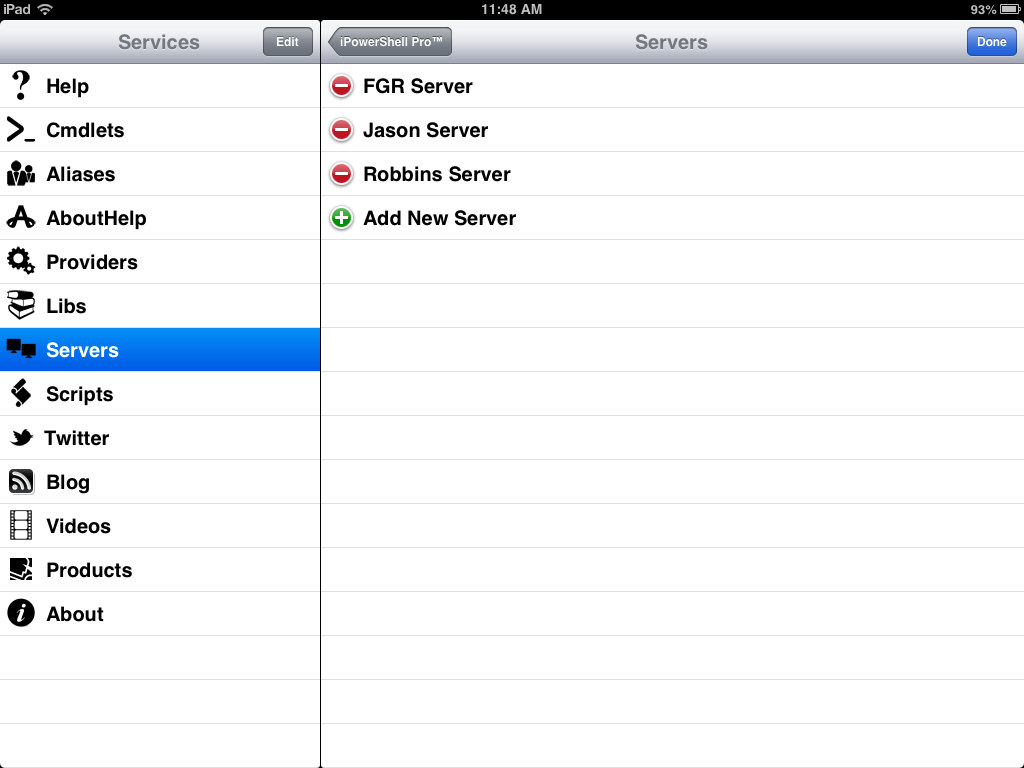
By tapping on the Servers list item, iPowerShell Pro will display a list of PSWA servers that you have set up, or if you have not set up any yet, the list will be empty. Let’s walk through the process of adding a new server to our list.

By tapping the Edit button in the upper right corner of the screen, the Add a New Server option is displayed in the server list. Tap the green + sign and the Add Server screen will slide into view.
Here you are presented with several fields:

Auto Login: Turn this on if you want iPowerShell Pro to fill in your PSWA login screen with the information entered below and log you in automatically. Setting this to off, will still fill in the login screen, but you will have to tap the Sign In button to actually log in.
Nickname: This is the name by which this particular setup will be known by. You can create multiple setups for the same server by using different Nicknames.
Server Name: This is the name of the server that you will be managing using PSWA. PSWA allows you to connect to an access point but manage other servers that you have access to. See your admin to determine what this should be.
Location: This is the IP of the PSWA server that you will be connecting to. This should include the complete URL, i.e. https://xxx.xxx.xxx.xxx/pswa
Port #: This will usually be 443 unless your admin has set it to another port
Login: Your login name for PSWA
Password: Your PSWA password
Script Path: This is the full local path to the cloud service folder on your server where you store your scripts if you want to enable remote script access. This is not a required field.
Cloud Service: Tap this to select the cloud service you are using to store your scripts, or select None to disable cloud services.
A bit more on this cloud service stuff: PSWA does not give you a way to execute a script that you may have created locally on your mobile device. If you have the appropriate rights, you can always execute a script that resides on the server, but you cannot create a script on your mobile device and upload it to the server to have it execute. So we came up with the idea of using cloud services to manage these scripts. If you create a shared cloud service folder (like DropBox or Google Drive) on your server, you can access that folder from iPowerShell Pro. This gives you the ability to create or edit scripts on your mobile device and synchronize them with the server for execution.
When you have completed filling in all of the required fields, tap the Add button in the upper right to add the server to your server list.
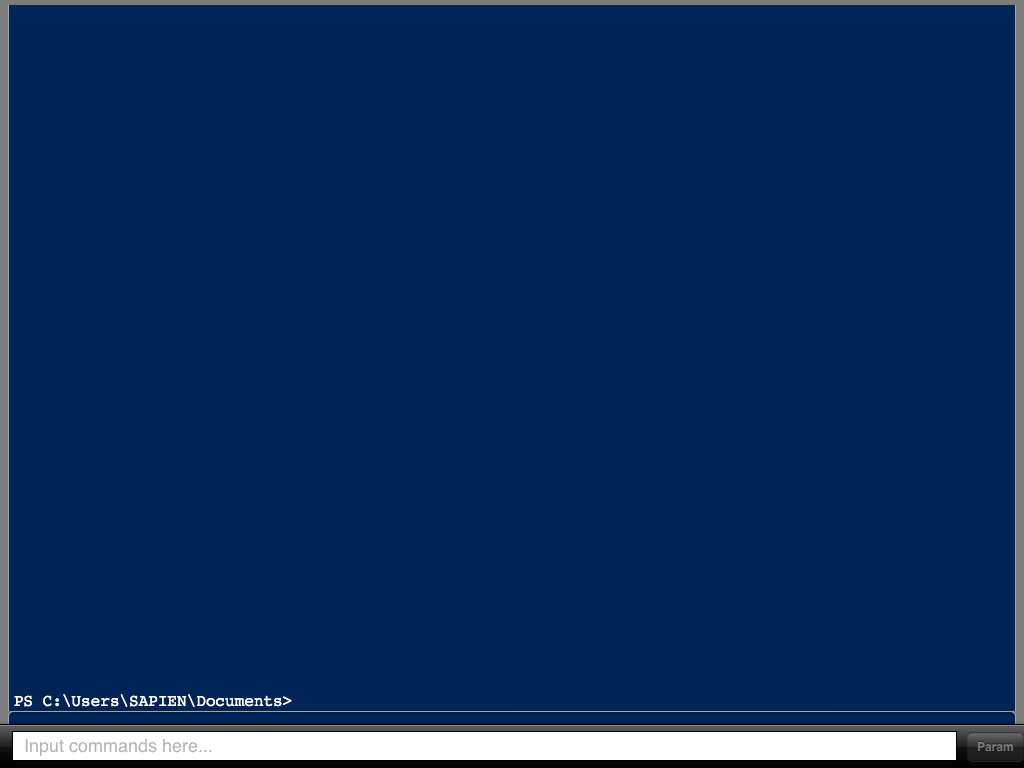
Now from your server list, simply tap the new server and you should connect to PSWA. If you selected to Auto-login, you will automatically be taken all the way through to the PowerShell Web console where you can begin administration of your server using PowerShell.
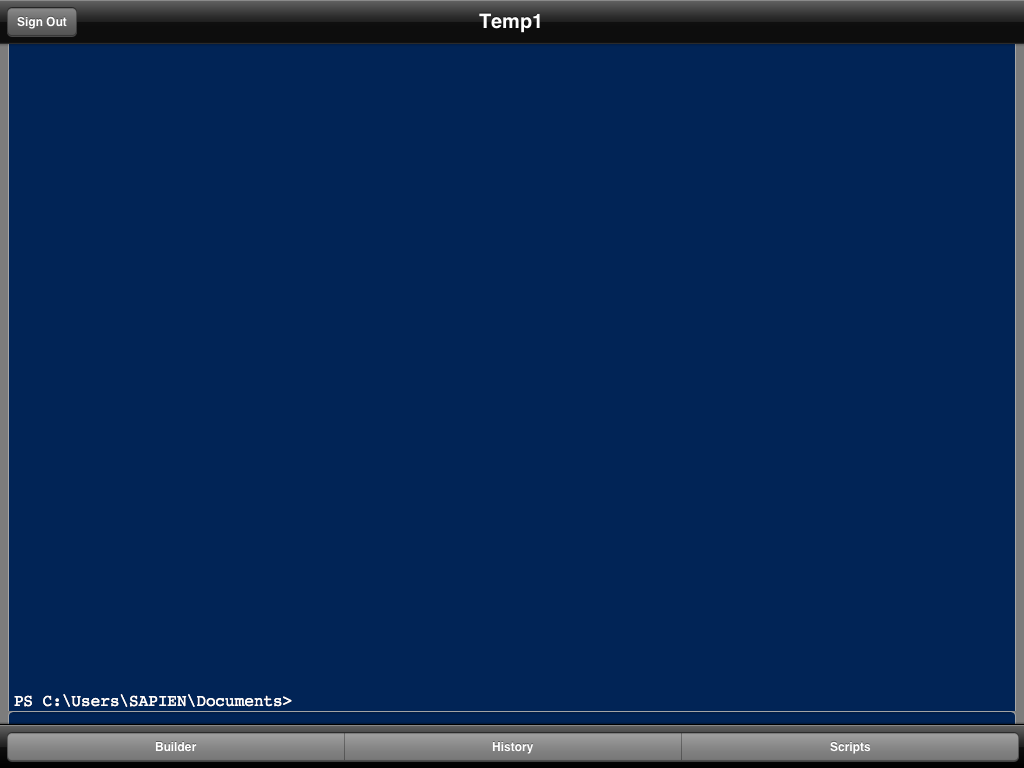
To sign out of the session, DOUBLE TAP the screen and select SIGN OUT from the title bar. Then tap the CLOSE button.
For licensed customers, use the forum associated with your product in our Product Support Forums for Registered Customers.
For users of trial versions, please post in our Former and Future Customers - Questions forum.